
Make A Brine To Ferment ANYTHING
A brine is the salty solution where the magic of lacto-fermentation happens; without it your food would just rot. Let’s make a brine to ferment anything.

In order to ferment vegetables we need two key players: vegetables ( who would have guessed it, right? ) and brine.
And to make a great brine for fermenting we need two key ingredients: water and salt.
The quality of those elements, their characteristics and the way we combine them, contribute to determine whether our fermentation will be a success or an epic fail.
This is why in this post we will explain you how to make a brine and we will share with you the very process we use every time we make our own.
What Is A Brine For Fermentation?
With the word brine we specifically refer to the “salty solution” necessary for fermentation, NOT marinades and NOT pickling liquids.
Even though both the latter have salt and water amongst their ingredients their main purposes are different.
For example, the goal of the liquid you submerge your chicken in is mainly to flavour the meat and such types of liquids are often referred to as marinades.
On the other hand, the goal of pickling liquids is both to flavour and to preserve.
Fermenting brine is the ONLY one that flavours, preserves and increases the nutritional value of everything that is submerged in it.
This is thanks to the million of microorganisms that inhabit it and are responsible for fermentation.
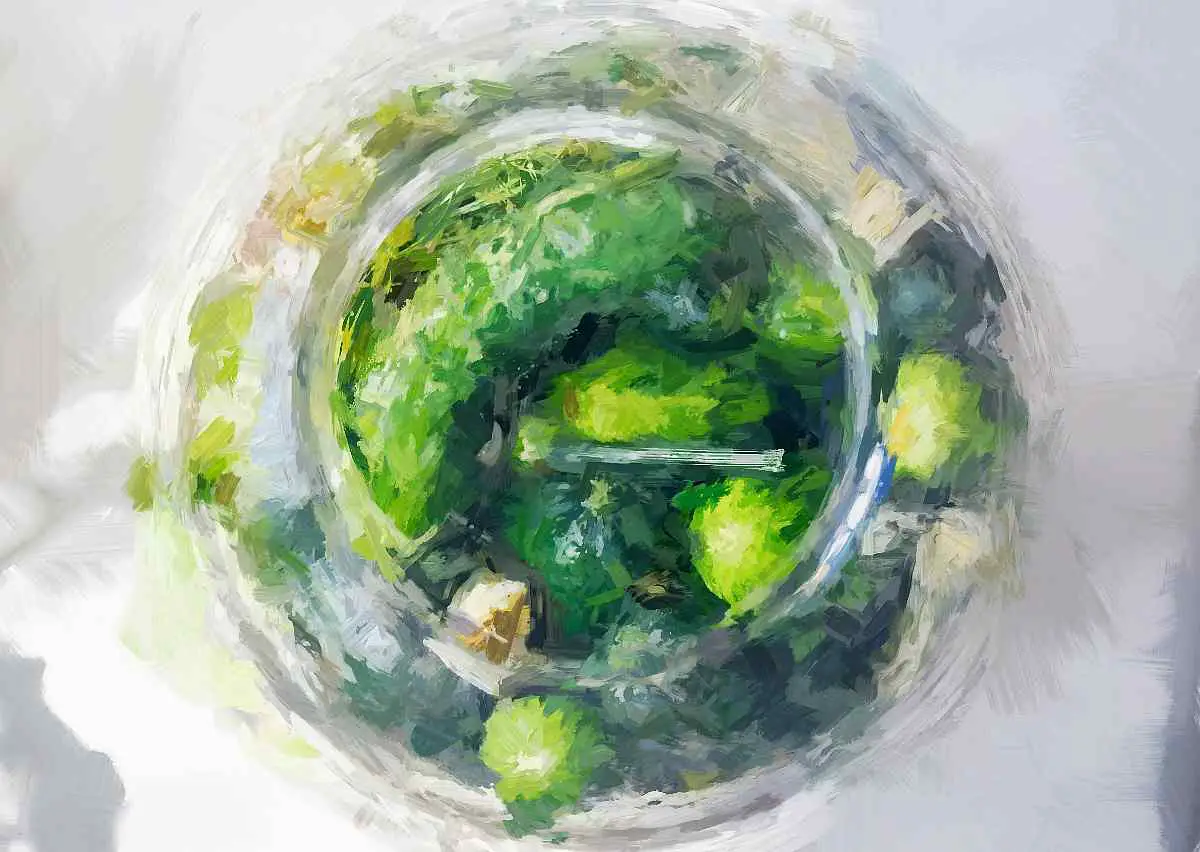
And it is because of the fermenting brine that your cucumbers, your carrots or your garlic scapes are as delicious as they are.
It is also important to remember that if you desire to lacto-ferment fruit this is NOT the type of brine to use ( generally speaking ).
TELL YOUR FRIENDS
So, if microorganisms do all the work what’s our role?
Our main role is to create, both inside and outside the jar, the most suitable conditions for lactic acid bacteria to grow and multiply.
And at the same secure the ferments so no unwanted guests can proliferate.
Let’s see how it works then.
Like I previously mentioned, in order to make a brine for fermenting we need water and salt.
So let’s begin with water.

Choose The Best Water To Make A Brine
Some people use bottled water and it seems to be a good option although not a favourite of ours as we prefer not to consume liquids that have been stored in plastic for a long period of time.
I would advise against using purified or demineralised water because, by doing so, you would be adding mineral free dead ingredient to your brine.
[adinserter name=”In Content 1″]
Spring water, although generally fine, could instead cause the opposite problem and be too rich in certain minerals that could negatively impact fermentation.
If municipal water in your area contains chemicals such as fluoride, chlorine or similar nastiness you should do your best to remove them.
Chlorine is a fairly easy one to remove as you just need to boil water or let it sit overnight, but when it comes to fluoride you need special filters based on reverse osmosis.
Our water, for example, contains chlorine but not fluoride so we simply run it through a filtering jug before using it for our fermentation brine and so far we have had no issues.
Choose The Best Salt
Now for the salt.
Just like water, not all salts were created equal and this is especially true when we use it to lacto ferment vegetables ( and fruit of course )
First things first.
You want to use salt that is just salt and by that I mean that no caking agents, no preservatives, no additives should be present.
[adinserter name=”In Content 2″]
Second.
No added iodine.
If you want your fermentation brine to be a good environment for lactic acid bacteria don’t use an iodised salt.
Iodised salt, just for the sake of information, is a salt that is so heavily refined that all good things are stripped away; even its own iodine.
So they have to add it back.
Scary huh?
On the other hand, common sea salt has its own negative aspects that could create issues during the process of making a brine.
All those negative aspects can be summed up in one word: pollution.
Our oceans and seas are polluted with chemicals, agricultural products, farming waste products, radioactive elements, heavy metals…
And micro plastics too, let’s not forget about them.
What happens is that the great majority of these pollutants do not disappear with evaporation but will instead remain in the salt where they even increase in concentration.
Sea salt is an obvious no no then.
Food grade rock salt ( halite ) is, for us, the way to go.
[adinserter name=”In Content 3″]
BUT ( well of course there was a “but” right? ) even amongst these types of salt some should be avoided; one for all pink Himalayan salt.
Himalayan salt, although sold as the healthiest available thanks to its high content of trace minerals, also contains several poisonous metals like cadmium and lead.
That’s why I advise you to look for unrefined rock salt that is either mined close to where you live or that comes from trustworthy sources.
We, for instance, always use Italian rock salt ( salgemma ); a salt that comes from a 6 million year old deposit, is processed underground and sees the light for the first time when you open the box at home.
We are so happy with it that it has become our go to salt for fermenting, cooking and every time we prepare our home made electrolyte rich drinks.
How To Make A Brine to ferment Vegetables
There are a few methods commonly used to make fermenting brine but in spite of their differences they all share the same purpose.
Achieve the necessary salt concentration to prevent pathogens and unwanted bacteria from growing.
The method we use has been working very well for us and it is the exact method I am going to share with you below.
Hopefully it will work for you just as well.
Would You Like
YOUR FERMIE LIFE
To Be EASIER?
Our FERMENTATION
PRINTABLES Will Do
Exactly That.
Fermentation Brine – STEP BY STEP PROCESS
This method will work for ANY salt concentration you need to achieve
- Weigh the total amount of vegetables you are going to ferment plus all the other ingredients you will be adding (ginger, garlic… anything).
- When ready fill a jar with your produce then add enough water to submerge it but keep its level 3 cm / 1 inch below the mouth of the jar.
[adinserter name=”In Content 4″]
Repeat this last step for every jar
- Once they are all filled with water pour it all out ( into a container ) and weigh it
( For this processes you’ll have to use the metric system )
- Add the weight of the vegetables to the weight of the water and write it down; that is the total “mass” you are going to ferment.
Vegetable weight + water weight = total weight
Multiply the total weight by the salt ratio you need to achieve and divide it all by 100
( Total weight in grams x salt concentration ) / 100 = grams of salt
Example
Let’s say the combined weight of vegetables and water is 1500 grams.
Let’s also say that you need to achieve a salt concentration of 3%
( 1500 x 3 ) / 100 = 45
Here it is.
You will need 45 grams of salt to make your 3% brine.
- Pour the total amount of salt needed into the water and stir to dissolve.
- Once salt has completely dissolved the fermentation brine is ready to be poured back into each jar.
Simply pour it into your chosen fermentation vessel and you are set to go.
But, if you have an eye for precision or if you intend to make big batches of lacto fermented food at once, there is a more scientific approach that can be applied.
It’s very simple and delivers a more accurate result.

Accurate Fermenting Brine For Big Quantities
Obviously you can use this brine recipe also for small quantities knowing that it is the most accurate way of calculating salt concentration.
Here is the step by step recipe
( total weight in grams x S ) / ( 100 – S ) = grams of salt
where S is the salt concentration we want to achieve
Using the measurements of the example above
( 1500 x 3 ) / ( 100 – 3 ) =
4500 / 97 = 46.39
Which you can round to 46.5 or even 47 ( depending on the scale you use ).
In our example, as we used a small amount of vegetables and water, the result of both methods is quite similar.
Join Our Community
Now let’s see what happens if we intended to ferment a large amount of vegetables.
Let’s say that the total weight of vegetables and water is 50 kilos
( 50000 x 3 ) / 100 = 1500
( 50000 x 3 ) / ( 100 – 3 ) =1546.39
It might still not seem much but even this apparently small amount can often make the difference between tasty fermented vegetables ( or fruit ) and mouldy ones.
So now you know that making fermenting brine at home is not hard at all, right?
And the best part is that the system will be exactly the same for every salt concentration, hence once you have mastered the steps you’ll be set forever.
Plus, you can start immediately with your first vegetable to ferment!
Brine Troubleshooting
Don’t worry if you still have some questions or doubts; we have prepared a small brine troubleshooting to help you out.
Brine Has Turned Cloudy
First: NO PANIC
Most likely brine has turned cloudy because of the activity of lactic acid bacteria; it’s very normal for it to happen and it’s actually a good sign.
It means that LAB are growing and reproducing in the brine and that the ferment is up to speed.
To be sure that vegetables are not spoiled just open the jar and use your senses.
Can you see any strange growth on the surface of the brine?
Does the ferment smell alright?
If the food you are fermenting passes the above test you are good to go.
White Stuff On The Bottom Of The Jar
At a certain point during the fermentation process you will see that some white stuff will start to form on the bottom of the jar.
Wanna know what it is?
Dead bodies!
No, seriously; the sediment you see happily sitting on the bottom of your jars is actually dead bacteria that ran out of food or completed their life cycle.
It’s absolutely normal and, once again, a sign that fermentation is proceeding as it should.
Brine Has Evaporated – What To Do
If your brine has evaporated leaving vegetables exposed to oxygen it’s very advisable to replenish it by making a new batch with the same salt concentration.
TELL YOUR FRIENDS
Prepare the salty solution, quickly open the jar, pour it over the vegetables until fully submerged then place a weight on them.
Seal the jar again and let vegetables ferment until ready.
Everything should proceed smoothly from there.
I hope you found this tutorial helpful but if you are still unsure about something feel free to ask any question by using the comment section below.
We will do our best to answer.
See you soon.


I have used the process you have here but always used a dark place to let the fermentation process take place. does that make any difference.
Hi James,
the important thing is NOT to allow the fermenting vessel to be in direct sunlight, but darkness is not necessary.
At least in my experience.
When I first started learning about fermenting, I was told that instead of brine, you can use pure celery juice from freshly extracting it. I did this with slaw – shredded cabbage, and carrots. I also did it with green beans, and carrot sticks. I can’t find any information at all about this online. So I got worried this time around and I have used celery juice +2 tablespoons of brine, just in case. Do you have any information about fermenting with celery juice?
Fermenting with celery juice in place of a salt based brine is not something we do so unfortunately we can’t be of much help I am afraid.
I know there are “advanced” fermentation techniques that use vegetable juice instead of water to make a brine, but even in those cases the right amount of salt is needed in order to make the fermentation process safe and viable.
I hope it helps.
I am fermenting beans. Most other sites suggest a starter culture with a length of fermentation about 3-4 days. I prefer to use your method of a salt water brine, but it would seem that it should take longer to ferment. Would you have any idea how long i should let my beans ferment?
Hi Tom
assuming that by beans you mean green beans I suggest you allow them to ferment for at least a week before trying them.
This timeframe is valid if you are fermenting at a fairly warm room temperature of at least 20-22 Celsius / 68-72 Fahrenheit; if the temperature is lower you will have to adjust the fermentation time accordingly.
I hope your beans will turn out great!
Is it possible to ferment whole avocadoes in a salt brine? Could I leave them in their skin/peel?
Hi,
fermenting avocados is not something we have done ourselves, but I honestly think it’s not possible.
My opinion is that the high fat content and the consistency of the avocados won’t allow fermentation to occur or to occur in a desirable way.
But nothing prevents you from trying of course :).
Just make sure you know what you are doing; food poisoning can be dangerous.
Should you use tge brine hot or cold to start the fermentation?
Hi,
I always use water at room temperature. If you use hot water you will kill the microorganisms you are trying to grow.
Can I use the leftover water from cooking the buckwheat, rice or noodles, etc. for brine?
Hi Inez,
although not impossible I would strongly advise using starchy liquids as the liquid base for a fermenting brine.
But if you don’t want to throw the liquid away you can try to yeast fermentation and turn them into a sour-vinegar like liquid; I did it with the cooking water from rice and it turned out good.