
Italian Giardiniera and Chicago Giardiniera -FERMENTED RECIPES
Italian Giardiniera and Chicago style Giardiniera are both such tasty mixed pickles it will be very hard for you to pick a favourite. I promise.

Giardiniera, literally meaning “female gardener”, is probably the most internationally known Italian pickles.
And it is so widely appreciated for good reasons.
The name already gives it away but, for those who don’t know what it is, I am about to give you the quickest introduction ever.
What Giardiniera Is And What Once Was
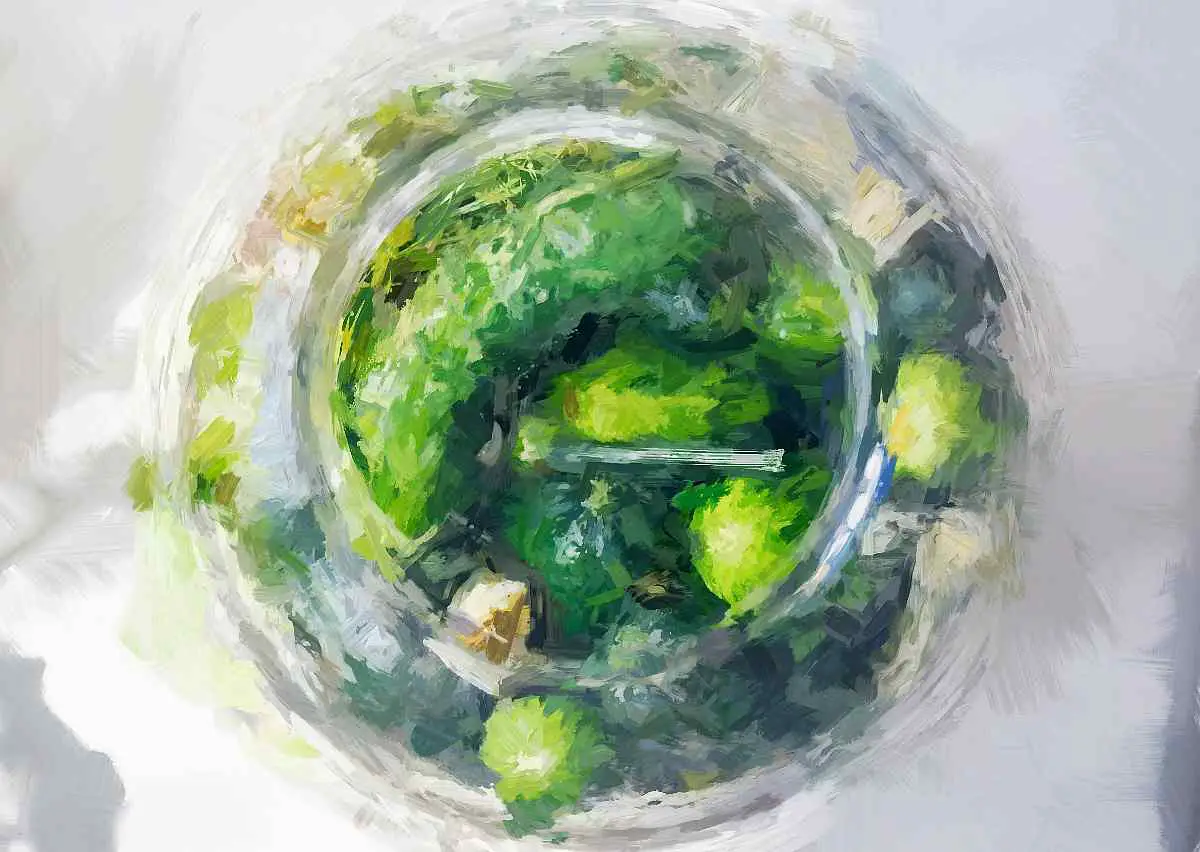
Giardiniera is a mixed pickle made with several types of vegetables and was, once upon a time, just a convenient way to preserve all the excess produce from the garden.
When there were too many vegetables for the family to consume, giardiniera came to the rescue.
Thanks to its vinegary based pickling liquid, produce could be stored for long periods and often over winter too.
Back in the days when everyone had a vegetable garden, giardiniera was prepared with whatever was ripe and available at the moment.
In fact it was a very diverse recipe that changed with seasons.
In modern times though only a few vegetables made it into the official, or should I say, most common, recipe.
TELL YOUR FRIENDS
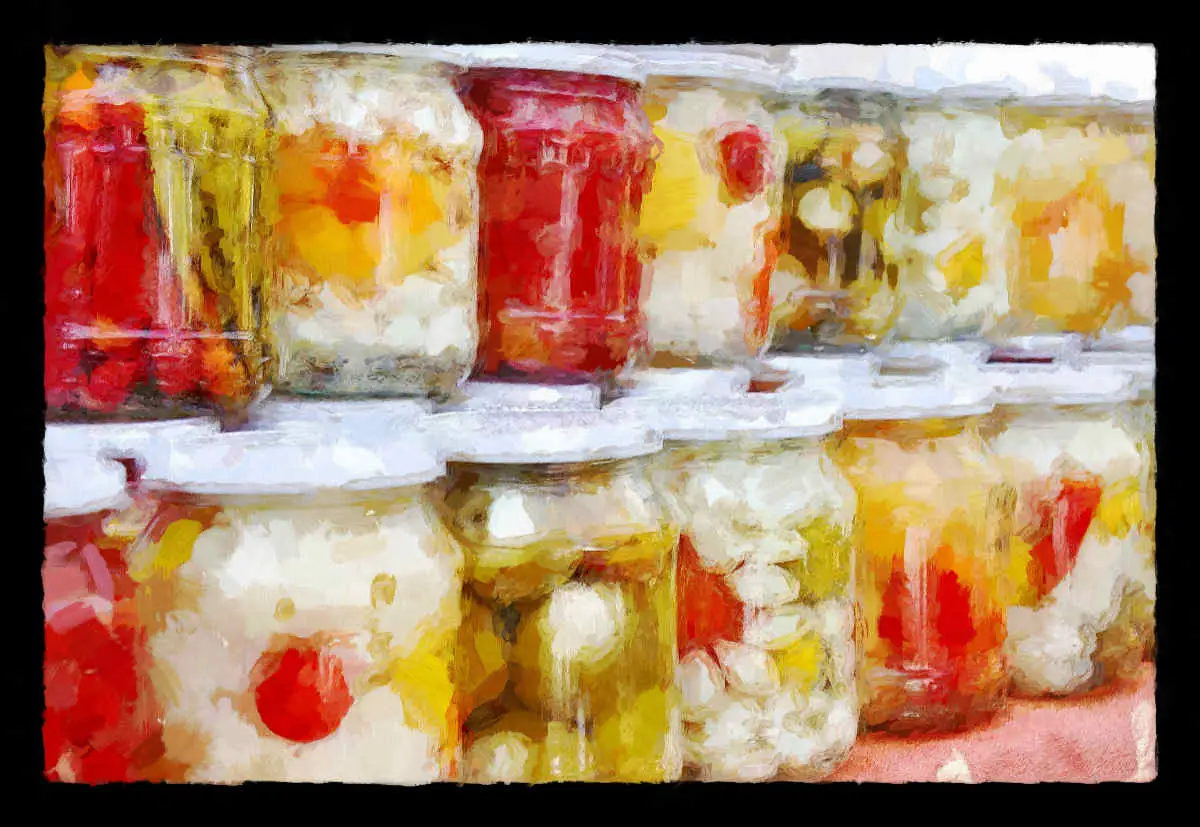
So nowadays, when you come across Italian mixed pickles, you will almost only find cauliflower, carrots, celery and celeriac.
Some recipes would also call for the addition of small onions and often gherkins, yellow and red capsicums ( sweet peppers ), fennel and green beans.
Speaking of carrots, have you tried our fermented carrot recipes? I bet you’ll love carrotkrauts.
But really, if you grow your own vegetables or are able to buy produce in bulk make giardiniera with whatever you like and prefer.
Without thinking too much about rules and recipes.
Speaking of which, in this article we will give you two different ones: a recipe for Italian giardiniera and a recipe for the spicy version from Chicago.
And if you too, like me, thought they were exactly the same let me show you how different they are instead.
Italian Giardiniera And Chicago Giardiniera – THE DIFFERENCES
Obviously they have aspects in common: they are both a mixed vegetable pickle and the veggies they are made with are very similar.
But the process of making them is quite different.
If you were to make Italian giardinera you would be first slicing, chopping and cubing all your vegetables then drop them in a pot with boiling brine ( vinegar based ) to soften.
Depending on your taste you would cook them for an average of 4 to a maximum of 10 minutes.
After that you would strain your vegetables, pack them tightly inside a jar then pour the hot liquid over them until completely covered.
If, instead, you were to prepare Chicago style giardiniera, you would place your chopped vegetables in a big bowl, submerge them with a salt based brine and leave them for 12 to 24 hours.
Later on you would strain all vegetables, place them in jars and cover them with a cold brine made either with vinegar and oil or vinegar and water.
Plus the recipe for Chicago giardiniera involves adding chillies ( hot peppers ) and garlic to the aforementioned vegetables.
The Italian version, on the other hand, does not ( but you are free to make a spicy version of course )
Very simply.
Chicago giardinera is made with raw vegetables and it’s hot and spicy by nature.
Italian giardiniera instead is made with blanched vegetables and is pleasantly mild and sweet.
At this point, considering this website is all about fermentation, I imagine you are all there wondering…
Would You Like
YOUR FERMIE LIFE
To Be EASIER?
Our FERMENTATION
PRINTABLES Will Do
Exactly That.
Is Giardiniera Fermented?
No the traditional recipe isn’t, but OURS definitely is ( and tastes amazing btw… )
Usually, Italian giardiniera is pickled with vinegar and water but there are versions where vegetables are either heated up in oil then jarred.
Others more similar to a relish, cook the vegetables until completely soft then jar them with their vinegar or oil based brine.
In our fermented giardiniera, instead, we only use fresh raw vegetables because we find they give the best result.
Plus they have the advantage of making the process very easy and straightforward.
Lacto-Fermented Italian Giardiniera
This mild giardiniera recipe is suitable for any amount of giardiniera; simply make as much or as little as you desire.
INGREDIENTS
- A mix of fresh vegetables of your choice ( cauliflower, carrots, shallots or onions, celeriac, celery, gherkins, capsicums and so on )
- Salt
- Peppercorns
- Juniper berries
- Bay leaves
STEPS
- Wash produce
- Remove any marked or damaged part from the vegetables
- Weigh them and write down the total weight
- Separate cauliflower florets individually and cut them in half
- Slice, chop or cube the rest of the vegetables according to your taste
- Place all the prepared vegetables in a bowl and mix them thoroughly
- Put some of the mix in every jar together with one bay leaf cut in a half, a few peppercorns and 2-3 cracked juniper berries
- Gently press the vegetables remembering to leave at least 3 cm / 1 inch of head space
- Now pour enough water in every jar to submerge all the produce
- Pour out all the water into a measuring jug or a container and weigh it
- Now add enough salt to the water to make a 2.5% brine ( based on the total weight of vegetables and water combined )
- Dissolve all salt and pour water back in every jar as you did before
- Repeatedly insert a chopstick or the handle of a fork amongst the pieces of vegetables to release all the air bubbles ( link ) that might have formed.
- Weigh all the produce down using a glass or a plastic weight ( even a cabbage leaf would work )
- Seal and let ferment for 10 to 14 days making sure to unscrew the lid every so often to release gas.
More on how to safely airlock a fermentation jar here.
TIPS
For an even more flavourful and crunchy giardiniera shred vegetables instead of chopping them.
In this case you will want to use only carrots, celery, celeriac, onions ( thinly cut ), fennel and cucumbers or gherkins.
Once fermetation is completed and/or giardiniera has reached a flavour profile you are happy with you can store it in the refrigerator.
By doing so you will be able to preserve it for months.
Even though we use raw vegetables in our recipes know that you can blanch yours if you prefer.
In that case, though, as the heat will kill microorganisms, you will likely need to use a starter to kickstart fermentation.
Leftover fermentation brine from another ferment would probably be the best choice.
Now for the US made relative of Italian giardiniera
Lacto Fermented Chicago Giardiniera – SPICY
This recipe too can be used for any amount of giardiniera you intend to make
INGREDIENTS
- A mix of fresh cauliflowers, celery, carrots, sweet peppers ( and / or any other vegetable you like )
- Vinegar
- Extra virgin olive oil or sunflower oil
- Fresh chillies ( of your choice )
- Oregano
- Salt
- Garlic
- Olives ( optional )
STEPS
The first steps ( 1 to 15 ) to make Chicago giardiniera are the same as in the Italian one but with just a couple of additions and changes.
A) This time you will want to dice your vegetables smaller than in the Italian giardiniera which is characterised by quite big and chunky pieces.
B) Don’t ferment olives ( keep them aside )
C) You will need to infuse vinegar with spices and aromatics
A couple of days before the end of fermentation ( 10 to 14 days ) this is what you are going to do.
PREPARING INFUSED VINEGAR
***Remember when you weighed water to make brine? Great.
You will need the equivalent of half that weight in vinegar ( e.g. 1L of water for the brine = 500 ml of vinegar to be infused )***
. Pour vinegar in a jar then add oregano, fresh chillies, minced garlic and sugar ( 1 teaspoon per litre / quart )
.. Let it rest at a warmish room temperature for at least 24 hours ( leave it longer for a stronger taste )
… Shake the vinegar quite often during that period
FINAL STEPS TO MAKE CHICAGO GIARDINERA
- Pour the brine out of the jars and keep it aside ( don’t throw it )
- Add olives to the jars and mix them with the other vegetables
- In a jug mix half the brine with the infused vinegar you previously prepared
- Refill the jars as you did at the beginning with the brine
- Pour some good vegetable oil over the submerged vegetables to prevent any contact with oxygen
- Seal well and keep refrigerated
- Wait at least 3-4 days before consuming
TIPS
As you saw, in this recipe we add garlic, oregano and fresh chillies BOTH to the fermented vegetables and the infused vinegar.
If garlic is not your best friend or you think it could irreparably impact your social life, do as follows.
Obtaining a less garlicky or less spicy giardiniera is as simple as NOT fermenting garlic or spices but adding them only to the infused vinegar.
Shelf life wise, this Chicago style giardiniera will last months in the refrigerator, given you have formed a layer of oil thick enough to create a strong barrier against oxygen.
I personally love Italian extra virgin olive oil for many reasons, one being the flavour it adds to the end product, but you can totally use any good quality oil for the purpose.
The best chillies to make Chicago giardiniera
I always say that your favourite ingredient IS the perfect ingredient for what you are going to make.
At the end you are the one eating it, right?
But if you want to stick with what’s most commonly used then that would be Serrano peppers.
To give you an idea about how hot Serrano chillies are, know they sit between cayenne peppers and habaneros and are, on average, 5 times more spicy than jalapenos.
Join Our Community
How to properly store Giardiniera
The Italian style fermented giardiniera won’t need to be refrigerated per se, as long as the vegetables are kept fully submerged by the brine at all times.
It is true, though, that such vegetables will keep fermenting at room temperature and that refrigeration will prevent them from becoming too sour and tangy.
So the choice is really yours, but be aware that is you keep them for a long time at such temperatures vegetables will ultimately become unpleasant to eat.
In our home, for example, we refrigerate jars after the fermentation process has completed.
That allows us to enjoy a great tasting giardiniera for months to come.
The spicy Chicago style giardiniera instead needs to be refrigerated to prevent spoilage unless, of course, you decide to water bath it.
To be absolutely honest with you, the acidity of the infused vinegar combined with the saltiness ( and acidity ) of the fermentation brine should guarantee enough safety.
But, as we prefer to be safe rather than sick, we always do a cold storage.
If you decide instead to water bath your giardiniera rest assured that the process won’t spoil the taste but will unfortunately kill all the probiotics.
Water bathing is almost a one way option when we prepare large amounts at once.
Now let’s see how to use giardiniera in the kitchen.
Awesome ways to eat it
In Italy giardiniera is commonly served as part of an “antipasto” dish and that, to me, is one of the best ways to eat it.
If you want to recreate that on your table simply take two or three types of your preferred cured meat like salami, prosciutto, ham or even wurstels and one or more of your favourite cheeses.
Serve meat, cheese, giardiniera and some nice bread or focaccia all together on a wide plate or wooden board.
For a spicier antipasto add some fermented hot peppers to the plate.
Another great use of your lacto fermented giardiniera is inside sandwiches or hamburgers.
It also makes the perfect side to any meat or fish dish, especially when paired with sauerkraut.
But let’s not forget pasta salads, also known as antipasto salad pasta, for which giardiniera is the perfect ingredient.
Just combine it with some fermented tomatoes, tuna, mackerel or smoked salmon, a mustard based dressing, a pinch of pepper and you are set to go.
Even a simple salad become a great dish with the addition of some mozzarella or feta cheese, spicy or mild giardiniera, a couple of anchovies and a drizzle of extra virgin olive oil.
TELL YOUR FRIENDS
Are you getting hungry?
I definitely am!
Pick one of the two fermented giardiniera recipes, collect all the beautiful produce you can get and in a couple of weeks you’ll be ready to make these gorgeous dishes in your own kitchen!
As per usual, use the comment section below to let us know all about your experiments, successes and failures
Hopefully we can help you to get a better result next time
See you soon.


